RTA cabinets (Ready to Assemble cabinets) are a popular choice for homeowners because of the cost savings compared to assembled cabinets. If assembled correctly, RTA cabinets are as sturdy and durable as pre-assembled or custom-built cabinets. In this guide, we’ll give you step-by-step instructions and tips on how to assemble RTA cabinets and make your assembly process as easy as possible.
Understanding RTA Cabinets
RTA cabinets are made with the DIY homeowner in mind. All the components and hardware needed for assembly are included in one box along with instructions. RTA cabinet assembly is straightforward. If you’ve ever used a screwdriver, you’ll have no trouble assembling cabinets.

Preparation Before Assembly
Assembly will require a few simple tools. If you’re a regular DIYer, you probably have them on hand already.
- Cordless drill with flat and Phillips drill bits
- Flat and Phillips screwdrivers – can be helpful when attaching more delicate pieces, like plastic locks for drawer slides.
- Non-marking rubber mallet
- Wood glue – isn’t always called for in the assembly instructions, but adding it to the grooves will add more structure to your cabinets.
Give yourself plenty of room to assemble your RTA cabinets. If you’ve already removed your old cabinets you should have room in your kitchen to assemble your new cabinets and you’ll be happy you don’t have to move them all into the kitchen when you’re finished.
Most people find it more comfortable to assemble RTA cabinets on a table or other raised surface. Place a drop cloth over your assembly surface to avoid scratching your cabinets.
Step-by-Step Assembly Process
Preparing Cabinet Components
Start with one cabinet at a time. The components for each RTA cabinet should all be included in one box. If you open multiple boxes at once, you’re more likely to mix up the parts.
Before you start your RTA cabinet assembly, compare the components with the packing list from the manufacturer. It’s usually included in the assembly instructions. Getting halfway through assembly and realizing you’re missing a part is extremely frustrating.
TIP: Place all the fasteners in a small box or container so you don’t lose them. You don’t want to be crawling around on the floor looking for the last screw that rolled off the table.
This is a good time to look for damage as well. RTA cabinets are less likely than assembled cabinets to be damaged during shipping, but it happens sometimes. As you’re checking for all of the components, look at the pieces and look for scratches or other damage. If you find any damaged components make a note of it and take pictures for future reference.

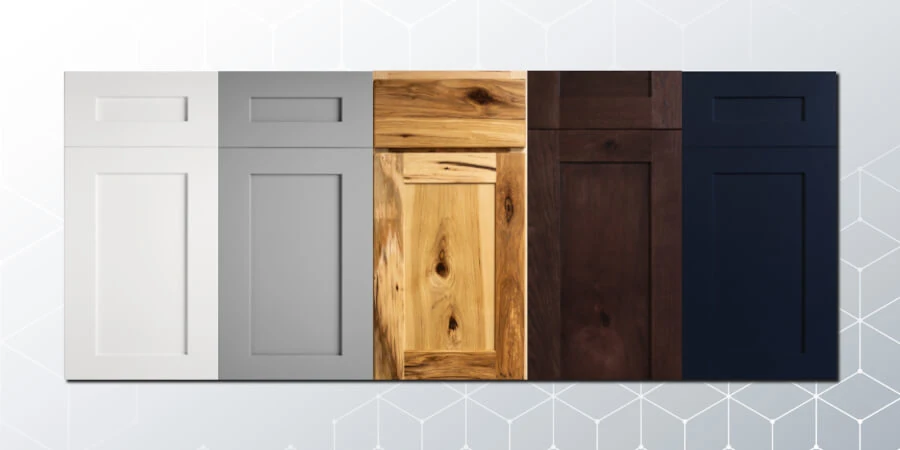
Refundable Sample Doors
Order SamplesReading the Instructions
Assembly instructions differ depending on the manufacturer and the style and type of cabinet, so always read the manufacturer’s instructions before starting. We’ll walk you through a typical RTA cabinet assembly.
Assembling the Cabinet Box
- Lay the face frame face down on a soft working surface.
- Insert the side panels into the grooves on the face frame.
- Insert the bottom panel into the grooves of the side panels.
- Insert the back panel into the grooves of the bottom panel and side panels.
- Stand the cabinet upright, and attach the four corner braces in each corner with the included screws.
- Attach the toe kick plate to the side panels with the included hardware.
Standing the cabinet upright on a flat surface before attaching the corner braces will help ensure that the cabinet is square and that the sides are completely flush.
Attaching Cabinet Doors and Drawers
- Lay the drawer front face down on a soft working surface
- Insert the side drawer panels into the dovetail grooves on the drawer front. Tap with a mallet until the dovetails are flush.
- Slide the drawer bottom into the grooves on the side drawer panels and drawer front.
- Attach the back drawer panel to the side drawer panels. Tap with a mallet until the dovetails are flush.
- Attach drawer glides to the side panels of the cabinet box.
- Attach the plastic drawer slide locking device to the bottom of the drawer with the included screws.
- Slide the drawers into the drawer guides through the front of the cabinet.
Most RTA cabinets come with the doors already attached to the face frame, so there is no need to attach hinges. If doors need to be attached, holes for the hinges are pre-drilled and all hardware is included.

Installing Additional Features
If your cabinet has shelves, insert the shelf clips into the pre-drilled holes in both side panels at the desired height and place the shelf on top of the clips. Drawer inserts are simply placed in the drawers.
Handles and drawer pulls include the necessary hardware to attach them to drawers and doors. It’s important to check the length of the screws to ensure they aren’t too long. If you make a paper template you’ll ensure all your handles and pulls are properly aligned without needing to measure every time.

Troubleshooting Common Issues
RTA cabinet assembly doesn’t always go as perfectly as you expect. Here are a few common issues you might encounter that are easy to fix.
- Missing or damaged parts. RTA cabinets are checked before being sent to you, but you still may receive boxes with missing or damaged parts. Take pictures of any damage and contact the retailer. Replacement parts can be shipped quickly.
- Tight dovetail joints are a sign of quality construction. You may need to use a rubber mallet to correctly assemble dovetail drawers and make all of the sides flush.
- Misaligned doors. Even if your cabinet doors are perfectly aligned when you assemble your RTA cabinets, you can expect them to shift slightly over time. All our cabinets come with adjustable hinges so minor adjustments are simple and easy. The back screw adjusts the door horizontally. The front screw adjusts the door vertically.
- Minor scuffs and scratches. Accidents happen. Small scratches in RTA cabinets can easily be fixed. The paint in a touch-up kit matches the cabinet finish perfectly and minor damage will be invisible once fixed.
Final Checks and Quality Assurance
After assembling each cabinet, take a minute to inspect the final product. Are the doors aligned? Do the drawers slide easily? Are there any glue drips? It will be easier to make any necessary adjustments now.
How Can We Help?
Replacing your kitchen cabinets can seem like a daunting task. We’ve been doing it for over 30 years and are happy to help you every step of the way. Get a free kitchen design with one of our experienced kitchen designers in person or over Zoom.
Need cabinets quick? In-stock RTA cabinets can be delivered locally in as few as 24 hours and nationwide in less than a week. Have trouble assembling your RTA cabinets? Our customer service team will answer all your questions and talk you through the process. And our price match guarantee ensures you’ll get the best deal possible.

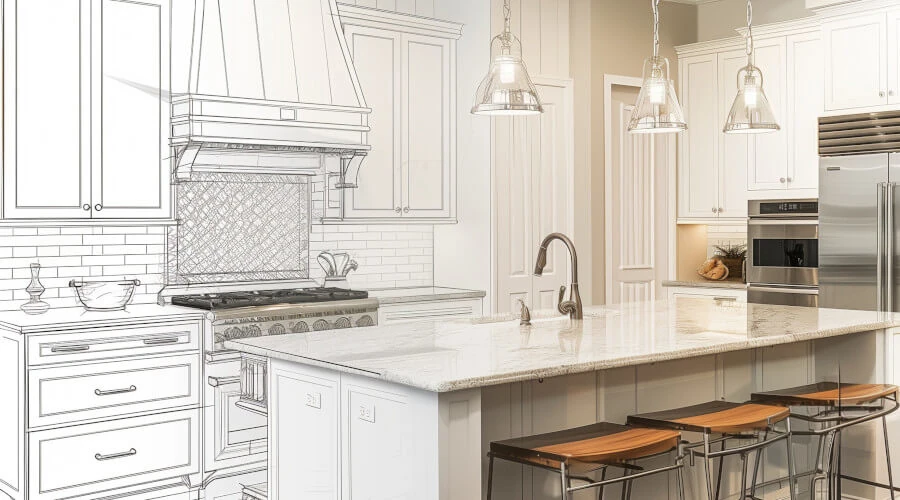
See Your Dream Kitchen Come to Life
Free Kitchen DesignThe main benefit of RTA cabinets is the price. You’re saving money by assembling them yourself. But there’s no need to be intimidated by the assembly process. RTA cabinet assembly isn’t difficult. Make sure you have the right tools. Clear a proper space to work. Follow the assembly instructions. Take your time and pay attention to the details. With a little work, you’ll get the cabinets you want at a fraction of the cost of pre-assembled or custom cabinets. And you won’t have to sacrifice quality or appearance; RTA cabinets offer the same quality and durability as pre-assembled cabinets.

